At the command prompt type: opkg update
Depending on the flavour of Arduino you're using type one (or more) of the following at the prompt:
opkg install kmod-usb-serial-ftdi //this is for Duemilanoves etc which use the FTDI serial chip
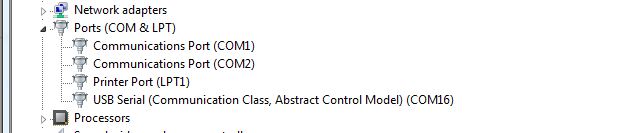
opkg install kmod-usb-acm //this is for Uno & Teensy
opkg install kmod-usb-serial-pl2303 //I used this as an example of a cheap USB to serial adapter
At the prompt type: opkg install ser2netser2net is a simple to use utility which pipes data (in both directions) between a serial port & a TCP port
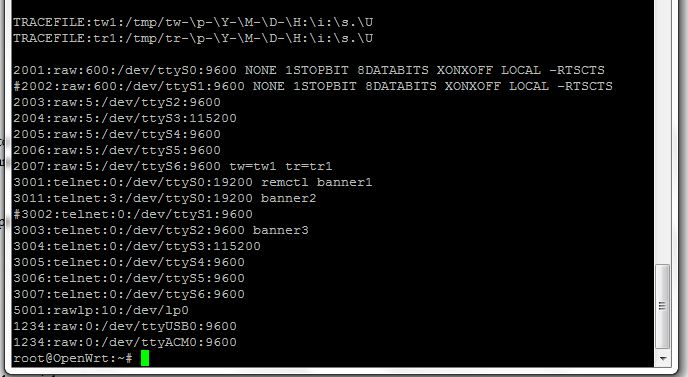
Choose a TCP port for ser2net (eg 1234) to use, and add a line (or two) to the end of the file /etc/ser2net.conf as follows:
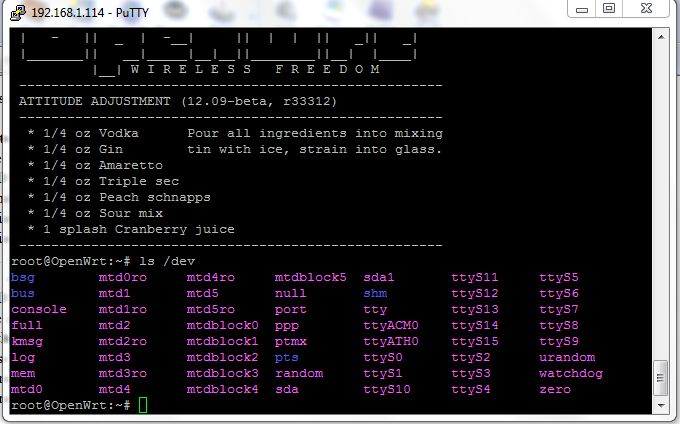
1234:raw:0:/dev/ttyUSB0:9600 //for FTDI serial devices, eg Arduino Duemilanove, Seeeduino etc. Also for the PL2303
1234:raw:0:/dev/ttyACM0:9600 //for eg Teensy, Uno
If you're going to use more than one device at the same time assign different port numbers for each.
You can edit using vi, or simply append to the file by typing (eg) at the prompt:
echo 1234:raw:0:/dev/ttyACM0:9600 >> /etc/ser2net.conf
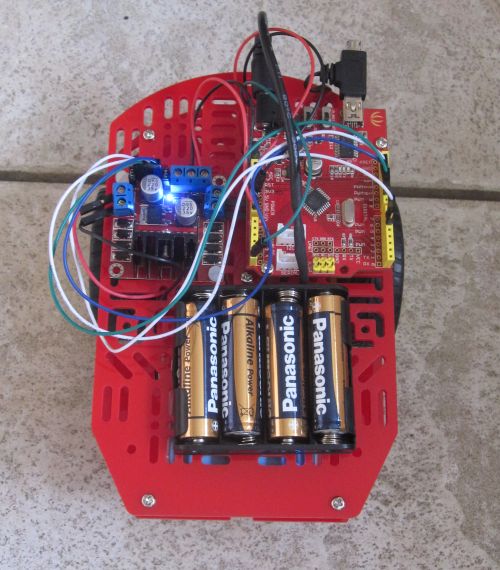
Plug in your Teensy to the USB port of the router and start ser2net by typing ser2net at the prompt. It doesn't seem to matter in which order you do this.//test program to dump data unsigned long int i; void setup() { // initialize serial comms: Serial.begin(9600); delay(10000); //just to give me time to open putty } void loop() { Serial.println("Arduino & openWRT test program"); Serial.print("This is my arduino sending data through openWRT - it works with a hub... "); Serial.println(i); i+=1; delay(50); }


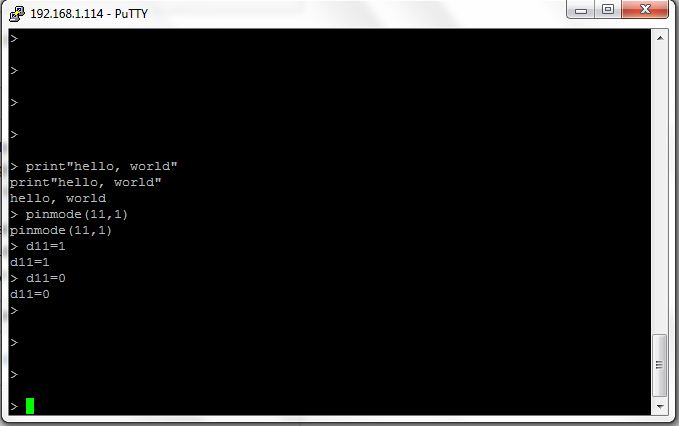
The program I've used here is essentially the bitlashdemo which is included in the examples in the library download:Bitlash is an open source interpreted language shell and embedded programming environment for the popular and useful Arduino. The Bitlash interpreter runs entirely on the Arduino and interprets commands that you type in a terminal window or send programmatically to the serial port.
// This is the simplest bitlash integration.

#include "bitlash.h"

void setup(void) {

	// initialize bitlash and set primary serial port baud
	// print startup banner and run the startup macro
	initBitlash(9600);

	// you can execute commands here to set up initial state
	// bear in mind these execute after the startup macro
	// doCommand("print(1+1)");
}

void loop(void) {
	runBitlash();
}


opkg install kmod-video-coreStart it up: mjpg_streamer -i "input_uvc.so -d /dev/video0 -f 3 -n -r 800x600" -o "output_http.so -w /www/" -b
opkg install kmod-video-uvc
opkg install mjpg-streamer
http://192.168.1.x:8080/?action=stream
http://192.168.1.x:8080/?action=snapshot
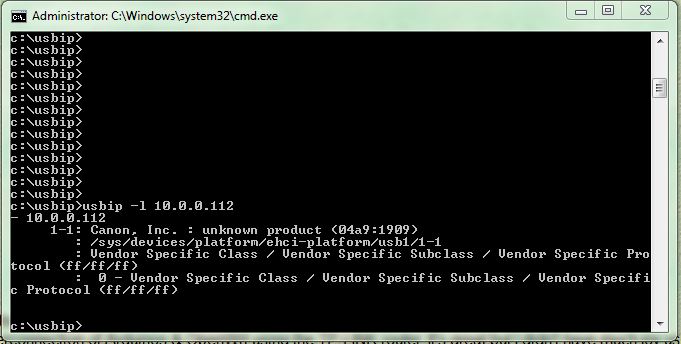
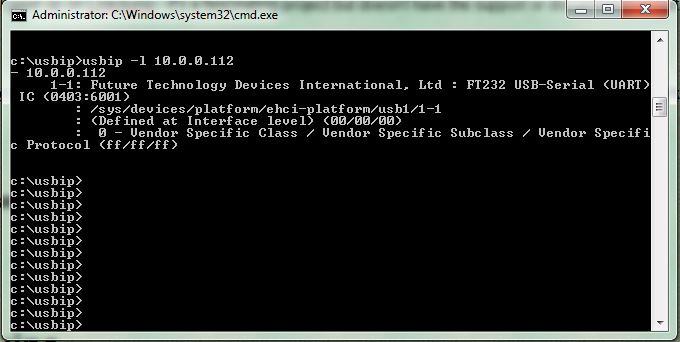
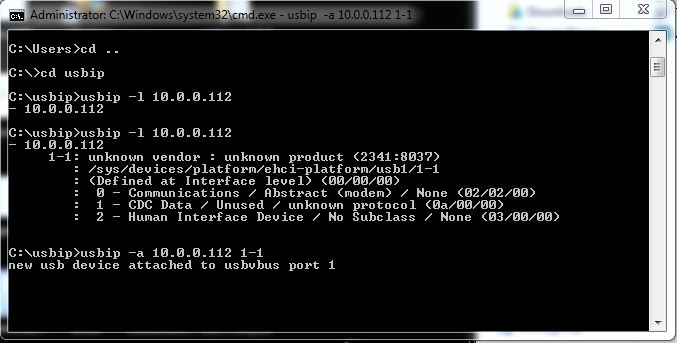
usbip -l 10.0.0.112